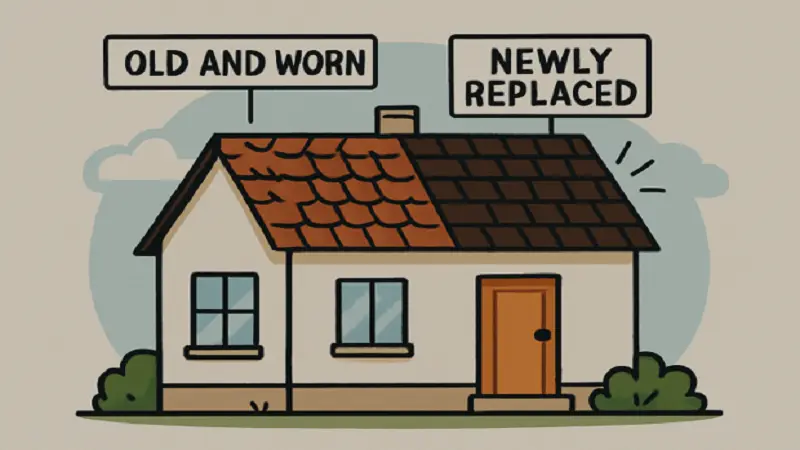
Replacing your roof is a critical investment that safeguards your home’s integrity, energy efficiency, and visual appeal. Whether you are updating an aging structure or tackling leaks and storm damage, understanding each phase of the process removes uncertainty and sets clear expectations. Homeowners who stay informed can avoid surprises, select the most suitable materials for their needs, and enjoy a successful project outcome. For those in the Kansas City area, exploring local resources such as https://jrcousa.com/kansas-city/commercial-roofing/ will help guide you to reputable roofing professionals and tailored solutions.
Because roof replacement temporarily disrupts daily routines and costs a significant sum, becoming familiar with the roadmap from inspection to final cleanup is empowering. Proactive steps taken before work commences—such as safeguarding your belongings and communicating with neighbors—will help make the installation as smooth as possible. By knowing what to expect, you can collaborate effectively with your contractor and ensure quality outcomes that last for years to come.
Initial Assessment and Estimates
The roof replacement journey begins with a thorough evaluation of your current roofing system. A professional contractor inspects the surface for damage, looking for cracked or missing shingles, water stains, leaks, and underlying structural concerns. This detailed assessment serves as the basis for an initial project estimate, summarizing key findings, recommended solutions, and anticipated costs.
It’s wise to collect at least three estimates from qualified local companies. Comparing details helps clarify what services each contractor includes, highlights material variations, and prevents last-minute budget surprises. Reviews from trusted sources and references from past clients can provide valuable insight into a contractor’s reliability and quality of work. According to the Better Business Bureau’s tips on roofing contractors, seeking multiple opinions and references is a best practice that protects your investment.
Choosing the Right Materials
Material choice is a pivotal decision that affects not only the project’s initial outlay but also your home’s defense against the elements and overall curb appeal. Asphalt shingles remain the nation’s most popular option, thanks to their affordability and ease of installation. Alternatives like metal roofing, clay tiles, or synthetic options offer increased durability, improved energy efficiency, or distinctive looks, but usually come with higher upfront costs.
Talk with your contractor about the unique climate challenges in your region, your warranty preferences, and your aesthetic goals. Higher-quality materials typically command higher prices but provide greater longevity and may reduce the frequency and expense of future repairs.
Preparing Your Home
Preparation is essential for protecting your home and minimizing disruptions during your roof replacement. Begin by clearing your driveway and moving vehicles, patio furniture, and fragile plants from the immediate construction area. Inside, secure or temporarily remove wall art and loose valuables in the attic and upper floors—vibrations can cause items to shift or fall.
Communicating with neighbors ensures everyone is aware of upcoming work and noise, reducing neighborhood tension. If you have pets, consider keeping them indoors or arranging boarding during the loudest phases of the job.
Removal of Old Roofing
With preparations complete, the crew will carefully remove all traces of your existing roofing materials down to the sheathing or deck. This noisy, labor-intensive step uncovers the true condition of your home’s structure. Responsible contractors use heavy tarps or plywood to shield landscaping, siding, and driveways from falling debris. Depending on your home’s size and the complexity of the roof, this demolition phase may last from a day to several days.
Inspection and Repairs
Once the old roof is stripped away, the deck is examined for hidden issues such as wood rot, water damage, or mold. Any compromised decking is replaced or reinforced to ensure a solid foundation for the new materials. Addressing these problems now prevents future leaks and prolongs the success of your new roof. Contractors should communicate openly about any unexpected repairs, outlining their scope and any additional costs.
Installation of New Roofing
The process of installing new roofing materials usually begins with an underlayment, a waterproof barrier that provides an extra layer of protection against rain and snow. Next, the main roof covering (whether shingles, panels, or tiles) is carefully fastened in accordance with the manufacturer’s specifications. Flashing is installed around chimneys, valleys, and vents to prevent leaks, while proper attic ventilation is incorporated to regulate temperature and moisture levels, extending the roof’s lifespan.
Precision in every detail, from nailing patterns to flashing placement, is crucial for optimal performance and warranty coverage. Trusting experienced professionals with strong manufacturer relationships is one of the most important decisions you’ll make in the project.
Final Inspection and Cleanup
With installation complete, your contractor will perform a comprehensive quality check to verify workmanship, proper venting, flashing, and material application. The site’s safety and cleanliness are also priorities; contractors use strong magnets to collect stray nails and carefully remove debris, leaving your property neat. Before issuing the final payment, schedule a walkthrough with your contractor to verify that all agreed-upon work is finished to your satisfaction.
Post-Installation Maintenance
Proactive care is vital for extending your new roof’s lifespan and maximizing return on investment. Schedule annual inspections—especially after major storms—to spot and resolve minor issues early. Keep gutters clear to prevent water buildup, and ensure attic ventilation remains unobstructed to avoid heat and moisture damage. For additional guidance, review trusted resources like the Family Handyman’s yearly roof inspection checklist to establish best practices and regular maintenance routines.
Understanding the roof replacement process enables homeowners to monitor their project’s progress and make informed decisions confidently. By preparing ahead, partnering with skilled contractors, and maintaining vigilance post-installation, you can ensure your investment delivers beauty, efficiency, and security for years to come.
Final Thoughts
A roof replacement is one of the most significant investments you will ever make in your home, serving as the primary shield between your family and the elements. While the process can seem daunting due to the noise, debris, and cost, understanding the roadmap—from the initial assessment to the post-installation maintenance—transforms a complex construction project into a manageable home improvement journey.
By prioritizing quality materials and choosing a contractor who emphasizes a thorough inspection and repair of the underlying deck, you aren’t just buying new shingles; you are ensuring the structural integrity of your entire house. The longevity of your roof depends heavily on the hidden details, such as proper underlayment and ventilation, which prevent moisture buildup and premature aging.
Ultimately, a successful roofing project is built on clear communication and proactive preparation. Taking the time to safeguard your property and schedule regular check-ups after the job is done will maximize your return on investment and provide peace of mind for decades. Whether you are addressing immediate storm damage or planning a long-overdue upgrade, staying informed ensures that your new roof provides the beauty, efficiency, and security your home deserves.